How-to guide
How to Set Up a 2-of-3 Bitcoin Multisig Wallet
A practical, 10-step walkthrough for building a 2-of-3 Bitcoin multisig wallet with three hardware wallets and a coordinator. Covers device selection, descriptor backup, receive-address verification, a signed test transaction, and the recovery rehearsal that decides whether the setup is real.
TL;DR
A 2-of-3 Bitcoin multisig wallet is a wallet whose addresses require any two of three independent keys to spend. Setup is: pick three hardware wallets from different vendors, initialize each with its own seed, install a multisig coordinator (Sparrow, Specter Desktop, Caravan, or Electrum), export an xpub from each device, combine them into a 2-of-3 descriptor, verify the receive address on every device, send a small test deposit, sign a test transaction with two of the three keys, back up the descriptor alongside each seed, and rehearse recovery on a clean machine before moving real funds in.
What you need before you start
To set up a 2-of-3 Bitcoin multisig wallet, you need three independent signing devices, three independent seed-phrase backups, a multisig coordinator application, and printed copies of the wallet descriptor. The whole premise of the setup is that no single piece of hardware, software, or backup location can compromise the wallet on its own.
Hardware checklist
- • Three hardware wallets — ideally from different vendors so a single firmware bug, supply-chain compromise, or stocked replacement does not affect more than one slot
- • Three independent seed-phrase backups — one per device, stored at separate locations
- • A computer with a multisig coordinator — Sparrow Wallet, Specter Desktop, Caravan (Unchained), or Electrum
- • A way to transfer data between devices and coordinator — USB cable, microSD card, or QR codes (depends on device)
- • Printer and durable storage for the wallet descriptor backup
Common device combinations that work well in 2-of-3 are Coldcard Mk4 + Trezor Model T + Blockstream Jade, or Coldcard Mk4 + Trezor Model T + Ledger Nano X. The reasoning is vendor diversity: three Coldcards is technically valid but fails the independence test if Coinkite ever ships a bad firmware update. See our Coldcard vs Trezor comparison and Blockstream Jade review for the trade-offs.
Time budget: a careful first-time setup runs 90–180 minutes — not because the configuration itself is slow, but because the verification, test-deposit, and recovery rehearsal steps are what make the wallet trustworthy. Skipping them is the most common reason real multisig wallets fail in production.
Step 1 — Choose three independent signing devices
The three signing devices in a 2-of-3 multisig should be as independent as possible: different vendors, different firmware codebases, and ideally purchased through different channels. Independence is the property that makes the quorum survive a single point of failure — if all three devices share the same vulnerability, the wallet is effectively a single-sig wallet wearing three jackets.
Vendor diversity matters
A 2-of-3 setup using three of the same model fails the moment its vendor ships a bad firmware update or has a supply-chain breach. Mixing vendors limits the blast radius of any single firmware compromise to one of the three slots, and 2-of-3 still allows a clean recovery from the remaining two.
Featured hardware wallets
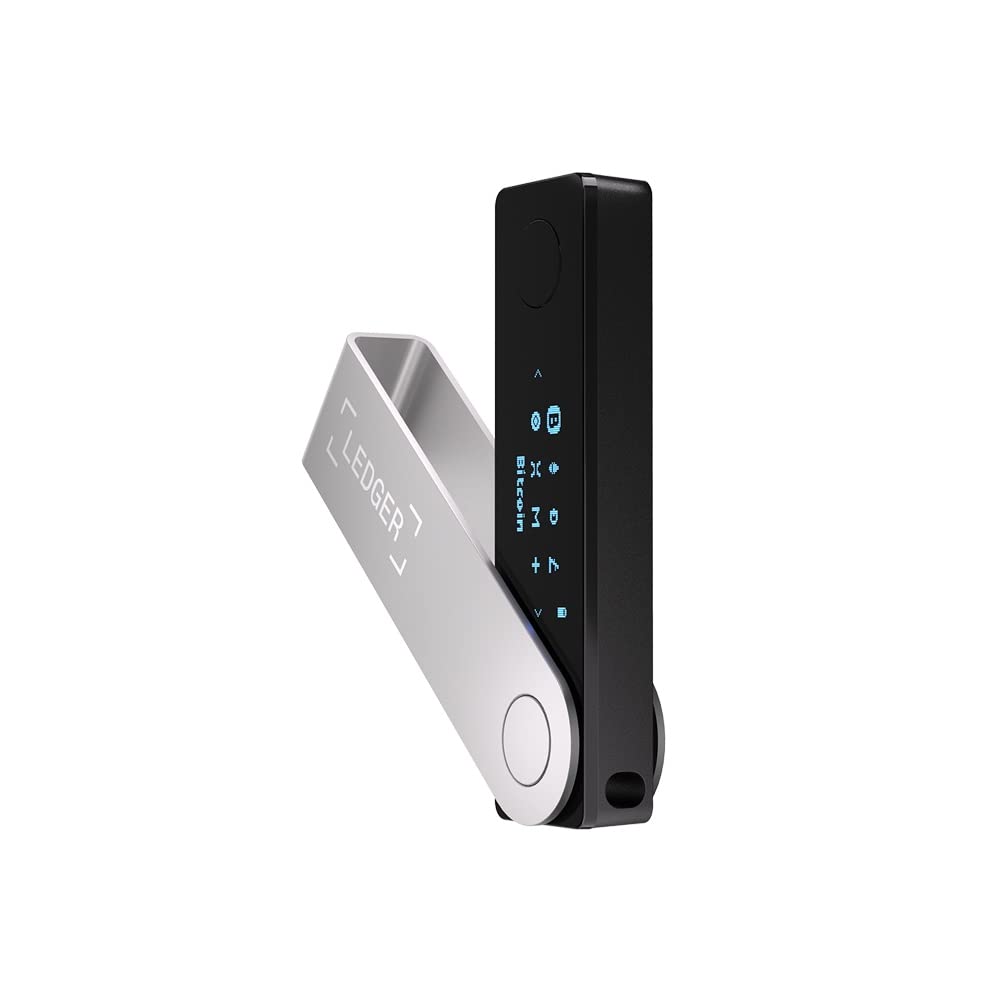
Ledger Nano X
Premium hardware wallet with Bluetooth connectivity and support for 5000+ cryptocurrencies.
Price
$1492 year warranty
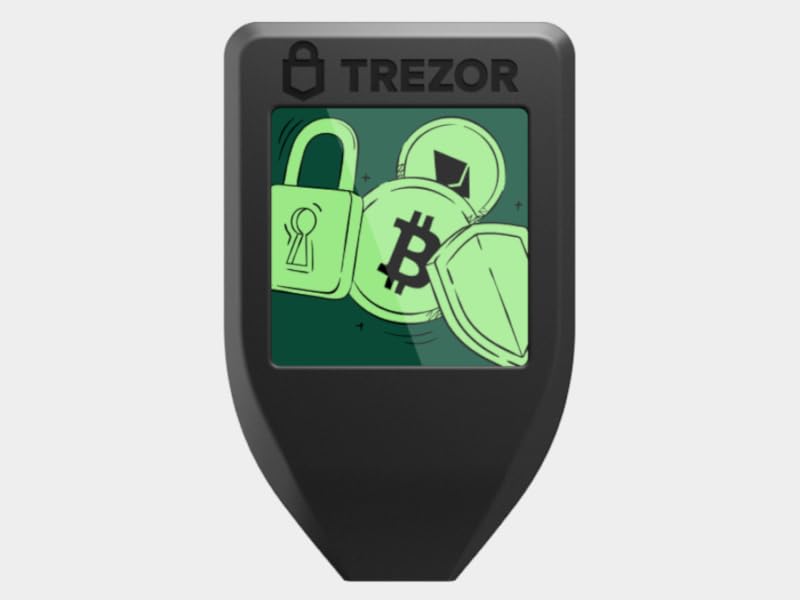
Trezor Model T
Premium open-source hardware wallet with touchscreen and Shamir backup support.
Price
$2192 year warranty
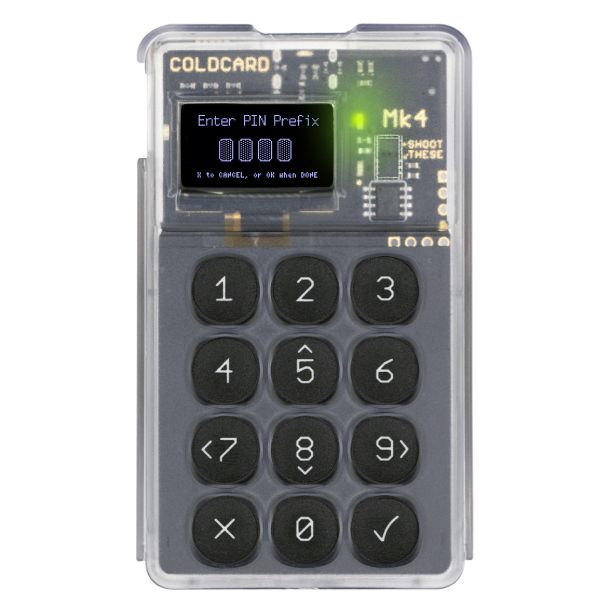
Coldcard Mk4
Bitcoin-only hardware wallet with dual secure elements and advanced air-gapped features.
Price
$1481 year warranty
Step 2 — Initialize each device with its own seed
Each of the three devices must generate and store its own independent seed phrase. Reusing a seed across slots collapses the security model: losing or compromising one seed becomes a 2-of-3 compromise on its own.
On each device, run the standard initialization flow and write down the seed phrase on paper or steel. Keep each seed at a different physical location. For backup durability trade-offs (paper vs. metal, geographic separation, redundancy), see our Seed Phrase Backup Guide.
Verify each seed on its device before continuing. Most hardware wallets have a "verify backup" or "check seed" workflow. Run it now, while the setup is fresh in your head, rather than the first time you actually need to recover.
Step 3 — Install a multisig coordinator
A multisig coordinator is the software that assembles the three xpubs into a wallet, generates receive addresses, and produces PSBTs for the signing devices to sign. The coordinator never holds private keys; it only handles public keys, descriptors, and partially-signed transactions.
Coordinator options
| Coordinator | Best for | Cost |
|---|---|---|
| Sparrow Wallet | Most users; great UI, broad hardware support, runs your own node optional | Free |
| Specter Desktop | Power users running Bitcoin Core, advanced descriptor handling | Free |
| Caravan (Unchained) | Browser-based, quick test setups, education | Free |
| Electrum | Long-time users comfortable with Electrum's flow | Free |
Sparrow is the most common choice for first-time multisig setups in 2026 because it has the widest hardware-wallet support and the cleanest UI for the verification steps that come later. The remaining steps in this guide assume Sparrow, but the concepts translate one-to-one to Specter, Caravan, and Electrum.
Install the coordinator on a computer you trust and verify the installer signature if the project provides one (Sparrow does). The coordinator does not hold keys, but a tampered coordinator could show you a fake receive address — which is why the per-device address verification in Step 6 is non-negotiable.
Step 4 — Export the xpub from each device
An xpub (extended public key) is the device's public-side identity for a derivation path; the coordinator combines three of them to form the multisig wallet. The xpub never reveals the private key, but treat it with care anyway — an attacker with all three xpubs can see every address the wallet will ever generate.
For each device
- Open the device's multisig export flow (often labelled "Export multisig", "Cosigner xpub", or similar).
- Select the multisig derivation path. For native segwit (recommended), this is
m/48'/0'/0'/2'on mainnet. - Export the xpub via QR, microSD, or USB — whichever the coordinator and device support in common.
- Import the xpub into Sparrow as one of the three cosigners. Repeat for the other two devices.
Why m/48' for multisig? The BIP-48 derivation path is the conventional path for multisig in modern coordinators. Single-sig paths (m/84' for native segwit, m/86' for taproot) are not used for multisig because the descriptors and address derivation differ.
Step 5 — Combine xpubs into a 2-of-3 descriptor
The wallet descriptor is the canonical record of a multisig wallet: the three xpubs, the 2-of-3 quorum policy, and the script type. Without the descriptor, the seeds alone cannot recover the wallet — you would have three loose keys with no record of which addresses they sign for.
In Sparrow, choose File → New Wallet → Multi Signature, set the policy to 2 of 3, and add the three cosigner xpubs imported in Step 4. Select Native Segwit (P2WSH) as the script type unless you have a specific reason to choose otherwise. Save the wallet.
Sparrow will generate a wallet descriptor that looks like:
wsh(sortedmulti(2,
  [fingerprint1/48'/0'/0'/2']xpub1.../<0;1>/*,
  [fingerprint2/48'/0'/0'/2']xpub2.../<0;1>/*,
  [fingerprint3/48'/0'/0'/2']xpub3.../<0;1>/*
))
Copy this descriptor verbatim. It is what you will print and back up alongside each seed in Step 9.
Step 6 — Verify the receive address on every device
Generate a receive address in the coordinator and confirm that all three hardware wallets display the same address before sending any bitcoin. This is the single most important step in the entire setup. If a device disagrees, the wallet is misconfigured on that device, and a deposit could land in an address you cannot recover.
Verification flow
- In Sparrow, register the multisig wallet on each device (most devices have a "register multisig" or "import wallet config" flow that imports the descriptor).
- In Sparrow, generate the first receive address.
- On each device, navigate to the multisig wallet and display the receive address for the same derivation index. The device should ask you to confirm the address against the coordinator.
- Compare every character. They must match.
If any device shows a different address: stop and re-import the descriptor on that device. Do not deposit funds until every device displays a matching address. A mismatch usually means an xpub was entered with a typo or the wrong derivation path.
Step 7 — Send a small test deposit
Send a small amount of bitcoin to the verified receive address. "Small" here means an amount you would not lose sleep over — a few dollars worth is plenty. The point is to confirm the wallet receives correctly before any meaningful balance lands in it.
Wait for one confirmation before proceeding. Confirm the deposit appears in the coordinator with the correct amount and receive address. If anything looks off, do not move on to signing — investigate first.
Step 8 — Sign a test transaction with two of the three keys
Build a small test transaction back to a wallet you control, sign it with two of the three keys, broadcast, and confirm. This is the first time the wallet has actually authorized a spend. If anything is wrong, this is when you find out.
Signing flow
- In Sparrow, build the transaction. Select a small output amount and a destination address you control (e.g. a single-sig wallet on a different device).
- Sparrow will produce a PSBT. Save it to microSD, scan it as a QR, or send it to the device via USB.
- Open the PSBT on the first signing device. Verify the destination address and amount on the device screen. Approve.
- Bring the partially-signed PSBT back to Sparrow. Sparrow will show that one signature has been collected.
- Repeat with a second device. After two signatures, Sparrow can finalize and broadcast the transaction.
- Wait for one confirmation. Verify on a block explorer that the transaction landed where you expected.
For more on PSBT workflows and air-gapped signing variants, see our Air-Gapped Bitcoin Signing Guide.
Step 9 — Back up the wallet descriptor
Print the wallet descriptor and store a copy alongside each seed backup. The descriptor is not secret in the same way a seed is, but it is just as critical for recovery. Without it, the seeds alone cannot recover the wallet — you would have three loose keys with no record of how they combine.
- Export the wallet descriptor from Sparrow (File → Export → Wallet Output Descriptors).
- Save a digital copy in encrypted storage and print at least two paper copies.
- Store one paper copy with each seed backup — that way, any seed-recovery scenario is also a descriptor-recovery scenario.
- Optionally, store one additional copy with a trusted attorney or in a safe-deposit box. The descriptor leaks visibility into the wallet's addresses, but not spending power, so the threshold for "trusted enough" is lower than for a seed.
Step 10 — Rehearse recovery on a clean machine
Before depositing meaningful funds, install the coordinator on a different computer and recover the wallet using only the descriptor and any two of the three seeds. If you can sign a transaction from that recovered wallet, the setup is real. If not, fix the gap before scaling up.
- On a different computer (or a fresh OS install), install Sparrow.
- Import the wallet from the descriptor backup. Confirm the receive address matches the original wallet.
- Connect any two of the three devices. Build a small test transaction back to yourself.
- Sign with two devices. Broadcast. Confirm.
If the rehearsal succeeds, the setup is operationally ready. Move funds in gradually, not all at once. If the rehearsal fails, the gap is almost always one of: missing descriptor backup, lost seed, wrong derivation path, or coordinator version mismatch — all fixable, but only if you discover them now rather than under pressure.
How to spend from a 2-of-3 multisig wallet
Spending from a 2-of-3 multisig wallet is the same flow as the test transaction in Step 8: build a PSBT in the coordinator, sign with any two of the three keys, combine, and broadcast. The third key is never required for a normal spend — it is the recovery margin.
- Open the multisig wallet in the coordinator and build the transaction.
- Save the unsigned PSBT.
- Sign on the first device. Verify the destination and amount on the device screen.
- Bring the partially-signed PSBT back to the coordinator.
- Sign on the second device. Verify again.
- Combine the two signatures in the coordinator. Broadcast.
For larger transfers, consider doing the verification + signing on an air-gapped machine to limit exposure. The coordinator does not need to be online to build the PSBT — only to broadcast the final transaction.
Common multisig setup mistakes
Skipping the receive-address verification
The coordinator can show you any address it likes. The hardware wallets are the only thing that can confirm the address actually belongs to the multisig quorum. Verifying on every device, every time you generate a new receive address, is the single highest-value habit in multisig operation.
Losing the wallet descriptor
Three seed-phrase backups in three locations sound thorough until you realize none of them tell you which xpubs belong together. The descriptor is what makes the seeds usable. Print it, store it with each seed, verify recovery.
Reusing a seed across slots
"I'll just use the same seed twice and call it 2-of-3" defeats the entire point. Each of the three keys must come from an independent seed phrase.
Not rehearsing recovery
A multisig setup that has never been recovered from cold is a setup you do not actually own. The first attempt at recovery should not be the day a device fails. Rehearse on a clean machine before any real balance lands in the wallet.
Storing all three devices in one place
Multisig only helps if the keys fail independently. If all three devices live in the same drawer, a fire or theft event compromises all three at once. Split them across locations and, where appropriate, across people.
Frequently asked questions
What is a 2-of-3 Bitcoin multisig wallet?
A 2-of-3 Bitcoin multisig wallet is a wallet whose addresses are controlled by three separate keys, where any two of those keys are required to authorize a spend. The third key is a redundancy: if one device is lost, stolen, or destroyed, the remaining two keys can still recover and move the funds.
What hardware do I need to set up a 2-of-3 multisig wallet?
Three signing devices, ideally three different hardware wallets from different vendors so a single firmware bug or supply-chain compromise cannot compromise the whole quorum. Common combinations are Coldcard + Trezor + Blockstream Jade or Coldcard + Trezor + Ledger. You also need a multisig coordinator (Sparrow, Specter Desktop, Caravan, or Electrum) to assemble the wallet and produce PSBTs.
How do I sign a 2-of-3 Bitcoin multisig transaction?
In the coordinator (Sparrow, Specter, or similar), build the transaction as a Partially Signed Bitcoin Transaction (PSBT). Load the PSBT onto the first signing device, verify the destination address and amount on the device screen, sign, and export the partially-signed PSBT. Repeat with a second device. Once two of the three keys have signed, the coordinator combines and broadcasts the transaction.
Do I need to back up the multisig wallet descriptor?
Yes — losing the wallet descriptor (also called the "wallet config" or "output descriptor") effectively makes the funds unrecoverable, even if you still have all three seed phrases. The descriptor records which three xpubs make up the quorum and the signing policy. Back it up alongside each seed in printed and digital form, and verify recovery from the descriptor before depositing real funds.
Can I use the same seed phrase for multiple keys in a multisig?
No. Each of the three keys in a 2-of-3 must come from an independent seed phrase. Using the same seed for two slots collapses the security model — losing or compromising that one seed becomes a 2-of-3 compromise on its own. The whole point of multisig is independence between keys.
How long does it take to set up a 2-of-3 multisig wallet?
A first-time setup with three hardware wallets, a coordinator, and a thorough verification + test-transaction pass typically takes 90 to 180 minutes. Setup itself is fast; verifying the receive address on every device, performing a test deposit, and rehearsing recovery is what takes the time. Skipping that part is the most common reason multisig wallets fail in practice.
Checklist Drop
Get the Multisig Setup Checklist
Download our free checklist covering the 10 setup steps, verification points, and recovery rehearsal items in one printable page.
We respect your privacy. Unsubscribe at any time.
Related guides
Multisig Basics
The conceptual primer: when multisig actually helps, the M-of-N model, and the operational trade-offs to understand before setting one up.
Air-Gapped Signing & PSBT Basics
PSBT workflows, QR and microSD transfers, and the operational discipline that makes the signing step in this guide trustworthy.
Seed Phrase Backup Guide
Paper vs metal, geographic separation, and recovery testing — the backup-durability decisions that hold the multisig setup together.
Bitcoin Inheritance Planning
How to structure heirs, executors, and signing duties so a 2-of-3 multisig survives the person who set it up.
Ready to pick the three hardware wallets?
Vendor diversity is the cornerstone of a real 2-of-3 setup. Compare hardware wallets, then split the slots across at least two firmware codebases.

About the author
Kevin Kinnett
Senior Software Engineer · Akur8
Kevin Kinnett is a senior software engineer with over a decade of experience in fintech, distributed systems, and cloud architecture. He runs BitcoinSafe as an independent, security-focused review site for Bitcoin hardware wallets and self-custody tooling, applying engineering rigor to a category that often relies on marketing copy. Not affiliated with any wallet manufacturer; reviews are independent. BitcoinSafe earns affiliate commissions on hardware purchases made through linked merchants, but commission structures never influence verdicts.